This is a guide intended to show the steps to set up AD for a lab and not meant for large-scale deployment as you would deploy these services on different servers.
Install GUI
This section will guide you through DHCP server setup.
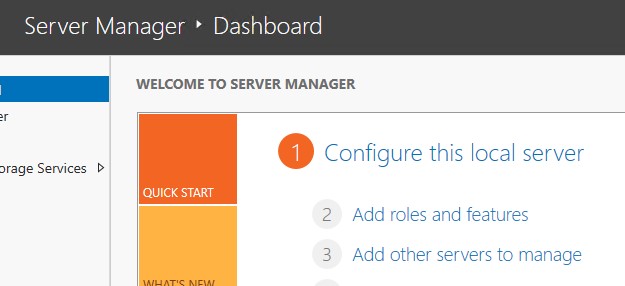
1.) In server manager click on add roles and features.
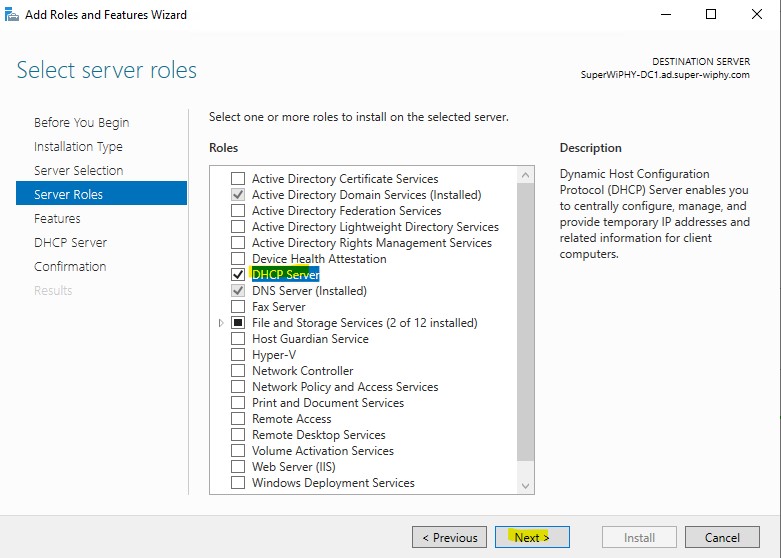
2.) click next till you get to server roles (if using RSAT on another system make sure to select the correct server in server selection). Check the DHCP Server role.
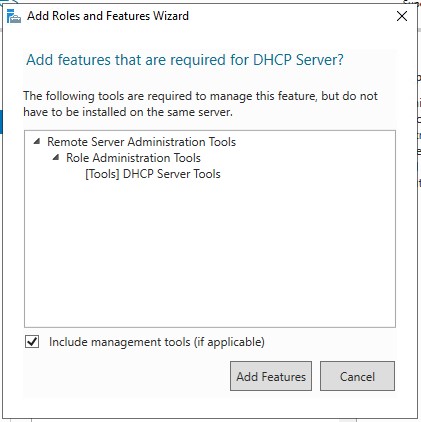
3.) After checking the DHCP Server box you will be presented to add the required features for DHCP management, Click the “Add Features” to continue.
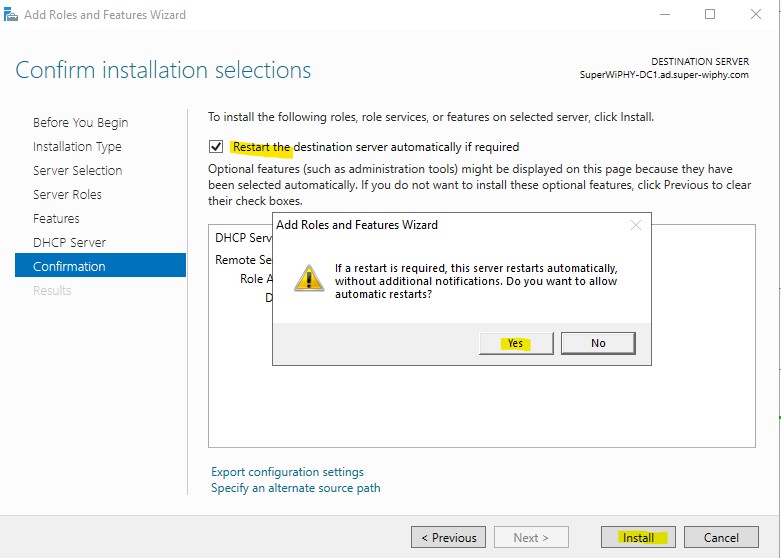
4.) Click next till you get to confirmation and click install.
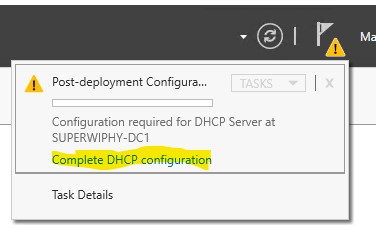
5.) In server manager go to notifications and click on “Complete DHCP Configuration”:
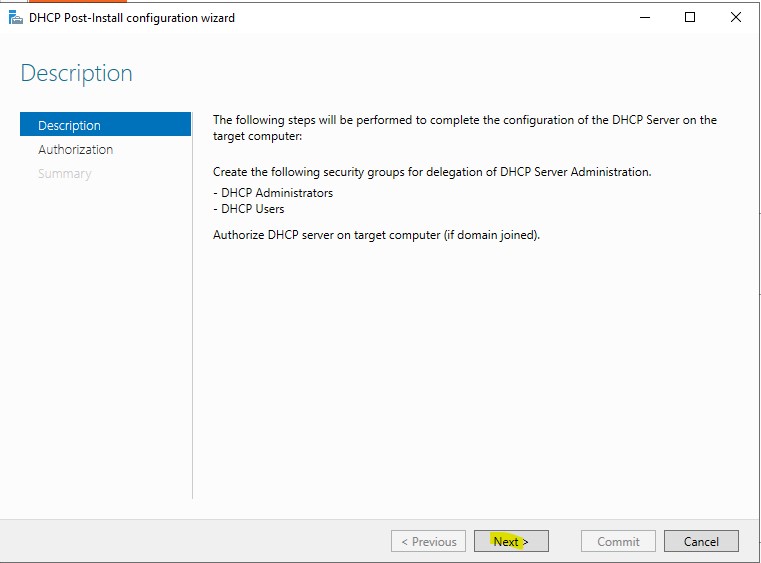
6.) The first screen of the wizrd show that it will create DHCP Administrators and DHCP Users, click next.
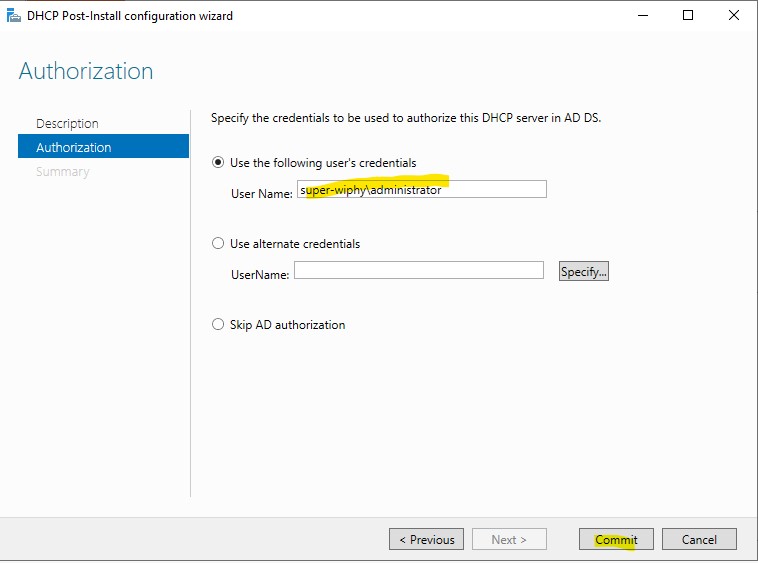
7.) This will auto fill with the current user but you need domain admin credentials to proceed. Once the correct credentials are entered click commit to proceed.
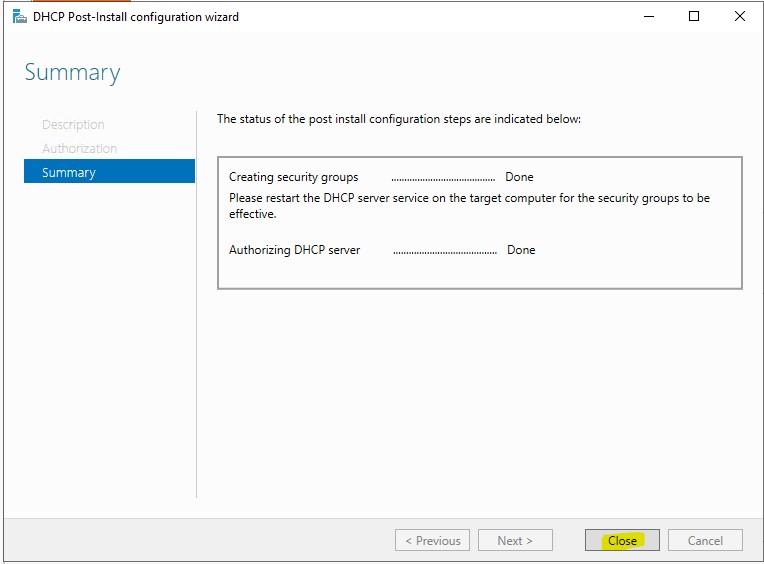
8.) The final screen shows both group creationgs completed. Click close to finish.
Install using PS
Install the DHCP server feature using (Steps 1-4 of the GUI):
Install-WindowsFeature -name DHCP -IncludeMnagementToolsAuthorize the DHCP server and setup users (steps 5-8):
netsh dhcp add securitygroups
Restart-Service dhcpserver
Add-DhcpServerInDC -DnsName DHCP1.domain.com -IPAddress x.x.x.x
Add Scope
Adding a scope to the DHCP server.
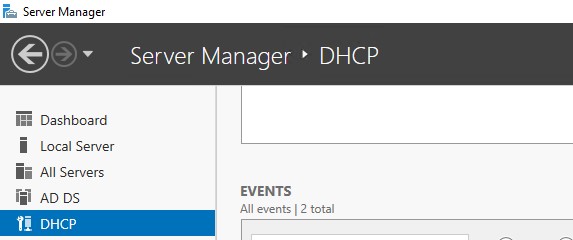
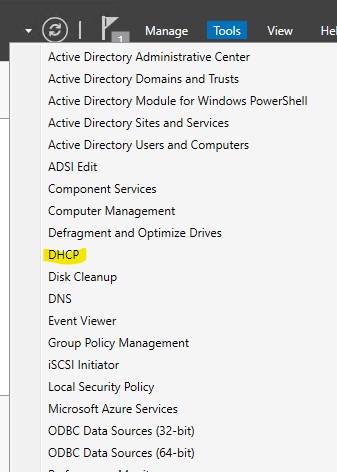
1.) From server manager open the DHCP Manager. This can also be opened from the start menu searching for DHCP.
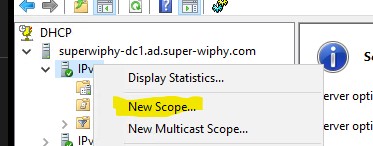
2.) Right-click “IPv4” and select “New Scope…”
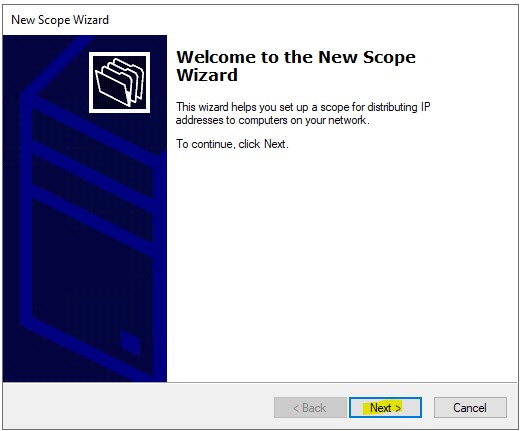
3.) The welcome page for the scope wizard will appear just click next.
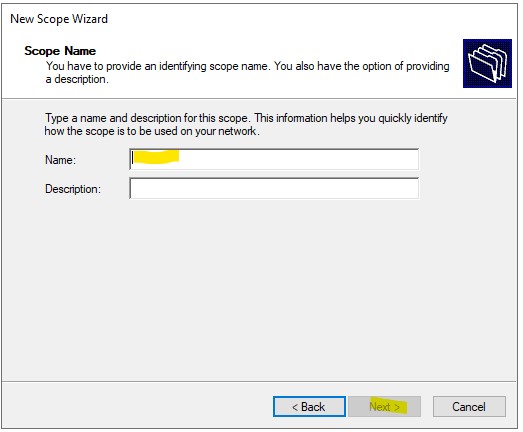
4.) Specify a name for the scope and a description (optional) and click next.
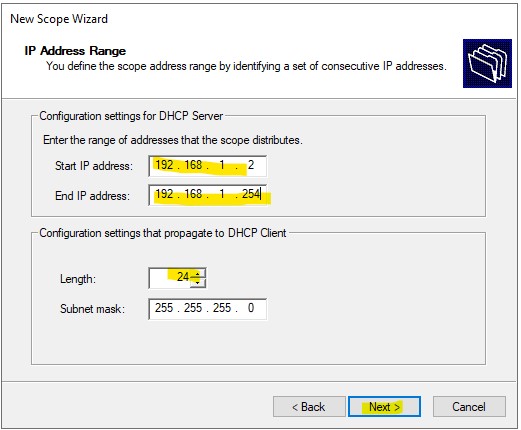
5.) Enter the start and end IP address for the scope. Set the network mask or use the length.
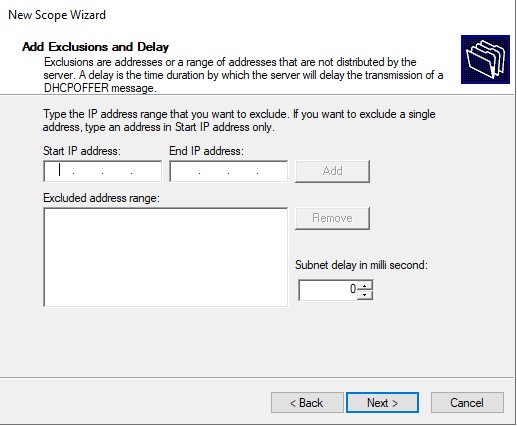
6.) Add any exclusions as a single IP in both or a range and click add. once completed click next.
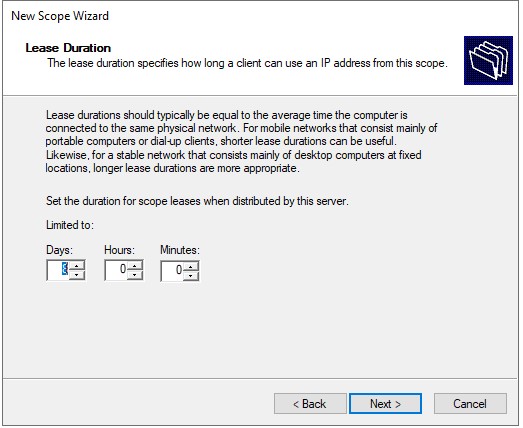
7.) set the lease duration. For wired internal i use 8 days, for wireless internal 1 day and wireless guest 15min.
8.) Choose to setup options now and click next. If you want to add the options later select no and click next.
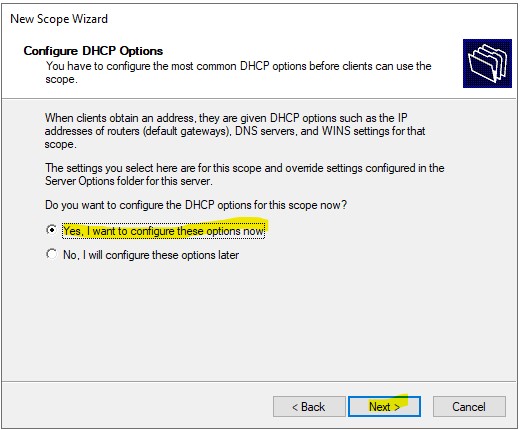
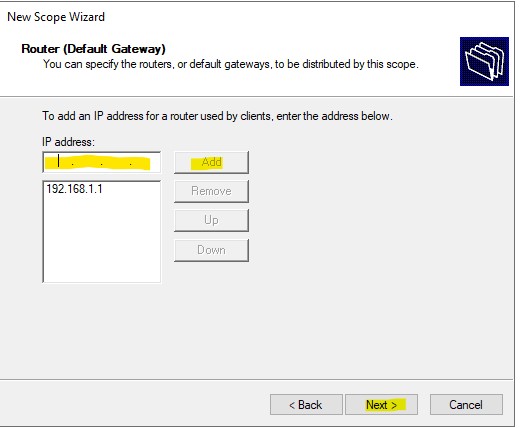
9.) Enter the gateway IP and click add, then click next.
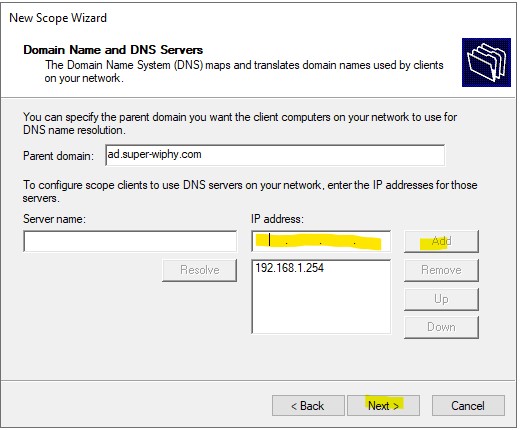
10.) Enter the name or IP of each DNS server and click add. once all are add click next.
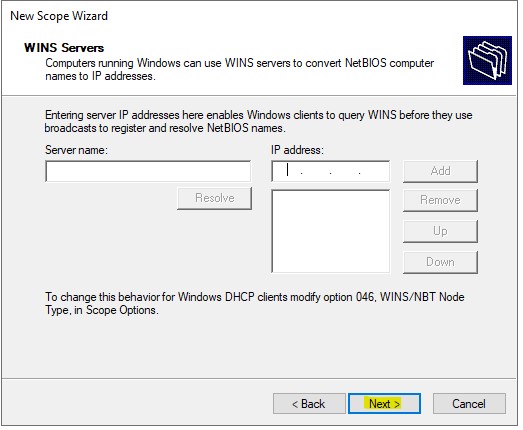
11.) Enter any existing WINS servers if used and click next.
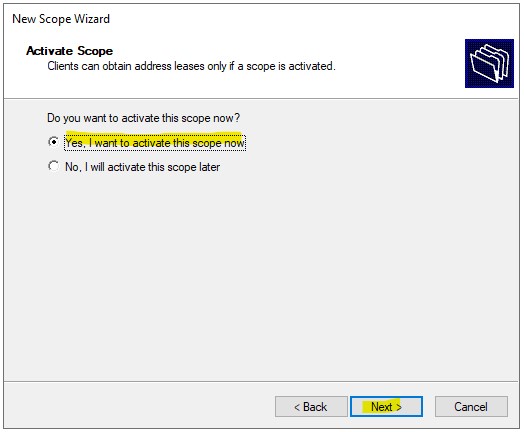
12.) Select “yes, I want to activate this scope now” and click next. If you select no here you will need to activate later. To manually activate later just right-click the scope and select activate.
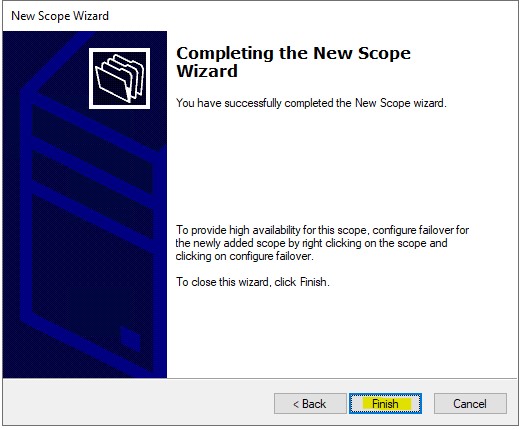
13.) Click finish and the scope is setup and active.
Add Scope PS
PowerShell commands:
DhcpServerv4scope: adds the scope with range and netmask and activates
DhcpServerv4ExclusionRange: sets up an exclusion range for the scope in question
DhcpServerv4OptionValue: used to set up DHCP options
Add-DhcpServerv4Scope -name "Corpnet" -StartRange 10.0.0.1 -EndRange 10.0.0.254 -SubnetMask 255.255.255.0 -State Active
Add-DhcpServerv4ExclusionRange -ScopeID 10.0.0.0 -StartRange 10.0.0.1 -EndRange 10.0.0.15
Set-DhcpServerv4OptionValue -OptionID 3 -Value 10.0.0.1 -ScopeID 10.0.0.0 -ComputerName DHCP1.corp.contoso.com
Set-DhcpServerv4OptionValue -DnsDomain corp.contoso.com -DnsServer 10.0.0.2
