This is a guide intended to show the steps to set up AD for a lab and not meant for large-scale deployment as you would deploy these services on different servers.
GUI Install
This section will guide you through setting up AD DNS for lab use.
GUI walkthrough:
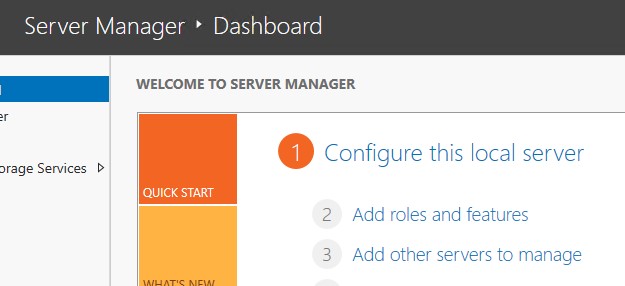
1.) In server manager click add roles and features.
2.) click next till you get to server roles (if using RSAT on another system make sure to select the correct server in server selection). Check the DNS Server role.
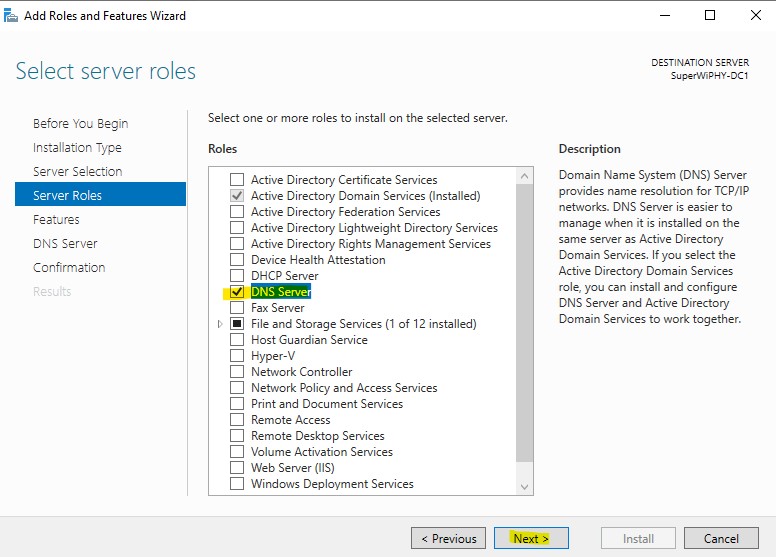
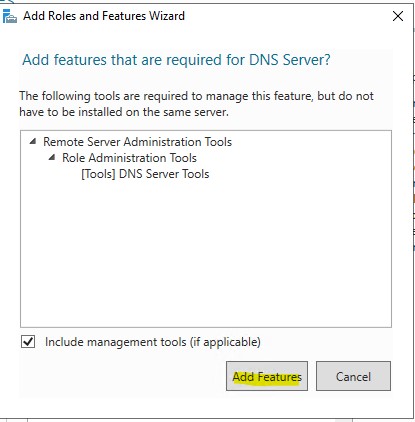
3.) After checking the DNS Server box you will be presented to add the required features for DNS management, Click the “Add Features” to continue.
4.) Click next till you get to confirmation and click install.
PS Install
Install-WindowsFeature -name DNS -IncludeMnagementToolsForward Lookup
Forward Lookup Zone
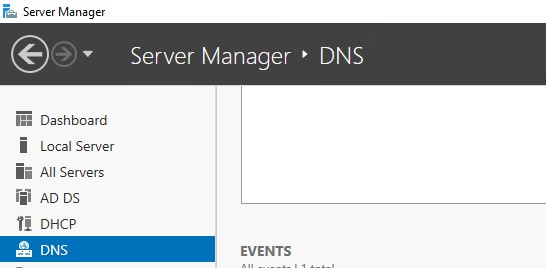
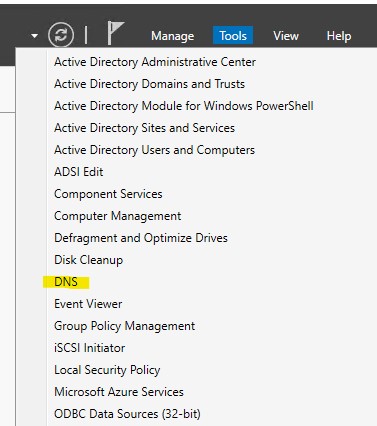
1.) From server manager open the DNS Manager. This can also be opened from the start menu searching for DNS.
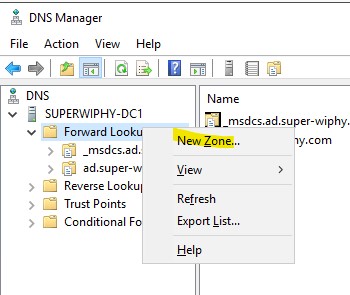
2.) Right click on the Forward Lookup Zones and click “New Zone…”
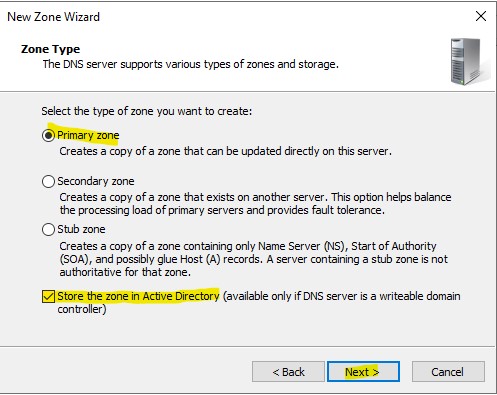
3.) Use a Primary zone and store in AD as this ill be the root domain for the lab such as super-wiphy.com. Click next.
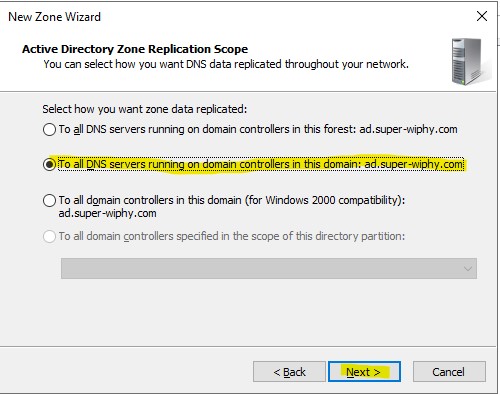
4.) set to replicate to all DCs in teh domain. Click next.
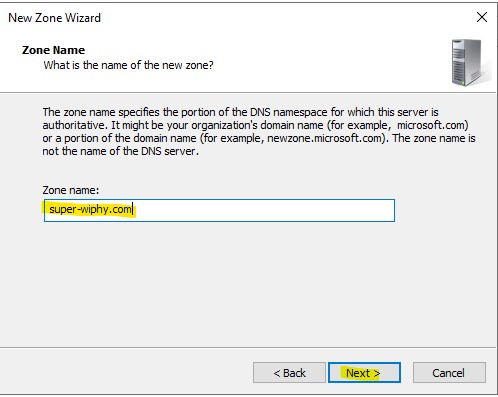
5.) Enter your root domain.
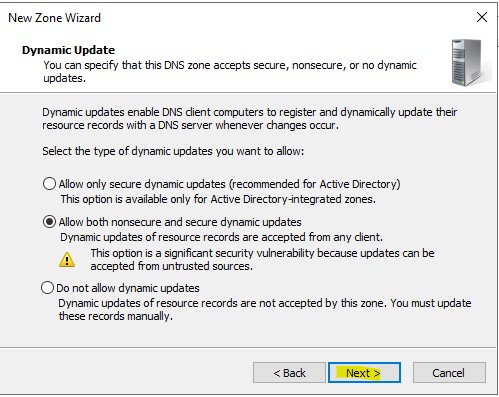
6.) Normally you would only allow secure updates but in my lab i am going to allow both to make life a little easier and click next.
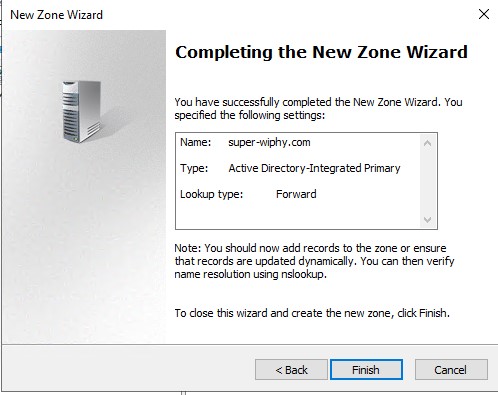
7.) Verify the information and click finish.
Reverse Lookup
Reverse Lookup Zone
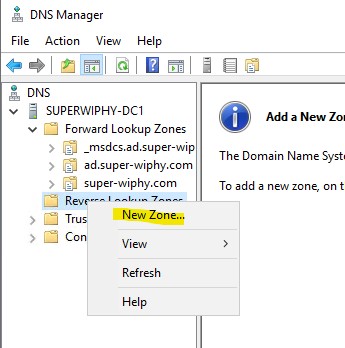
1.) Right click reverse lookup zones and click “New Zone…”
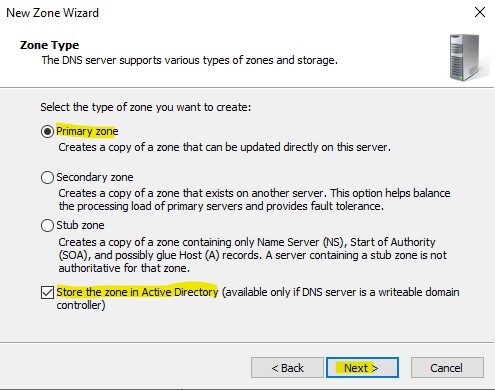
2.) Set this as a primary zone and store in AD then click next.
3.) User the IPv you need and click next.

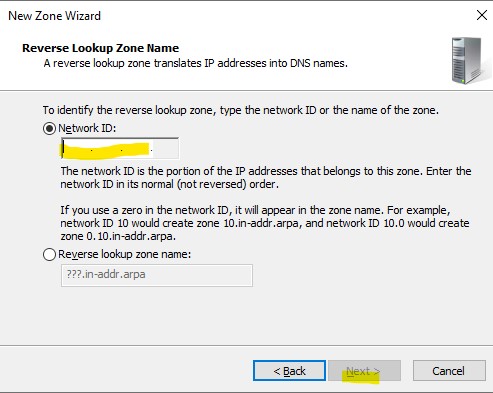
4.) Enter the the octets needed to identify the network and click next.
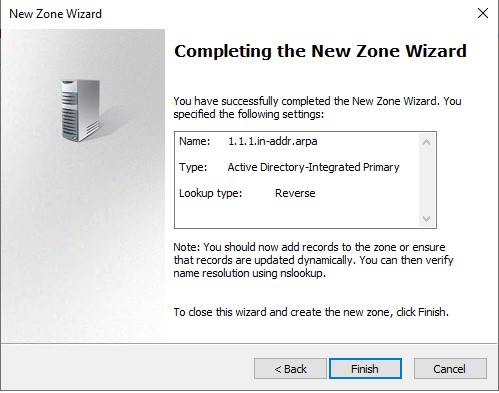
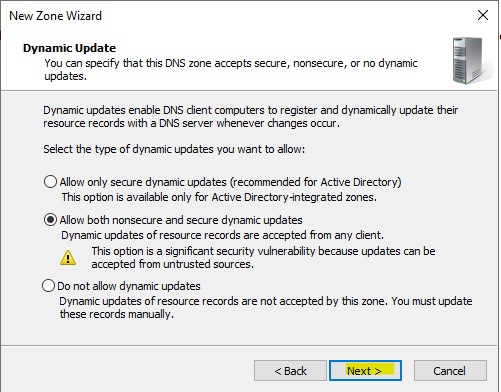
5.) Select the level of update security and click next.
6.) Review the information and click finish