This is a guide intended to show the steps to set up AD for a lab and not meant for large-scale deployment as you would deploy these services on different servers.
Gui install
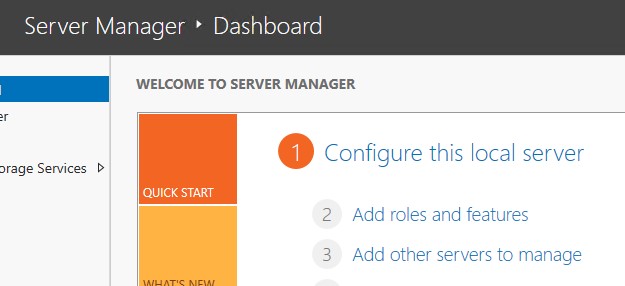
1.) In server manager click the add roles and features:
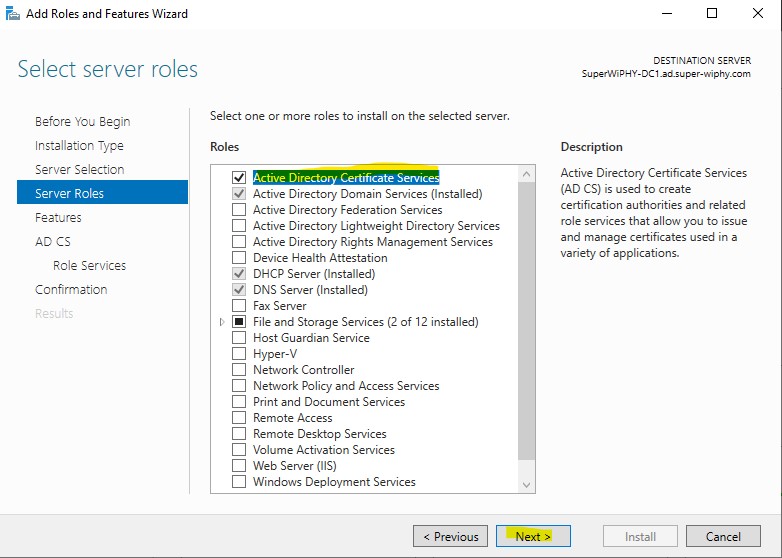
2.) click next till you get to server roles (if using RSAT on another system make sure to select the correct server in server selection). Check the “Active Directory Certificate Services” role.
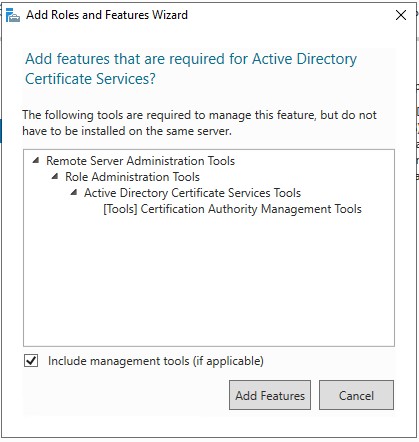
3.) After checking the ADCS box you will be presented to add the required features for ADCS management, Click the “Add Features” to continue. and next.
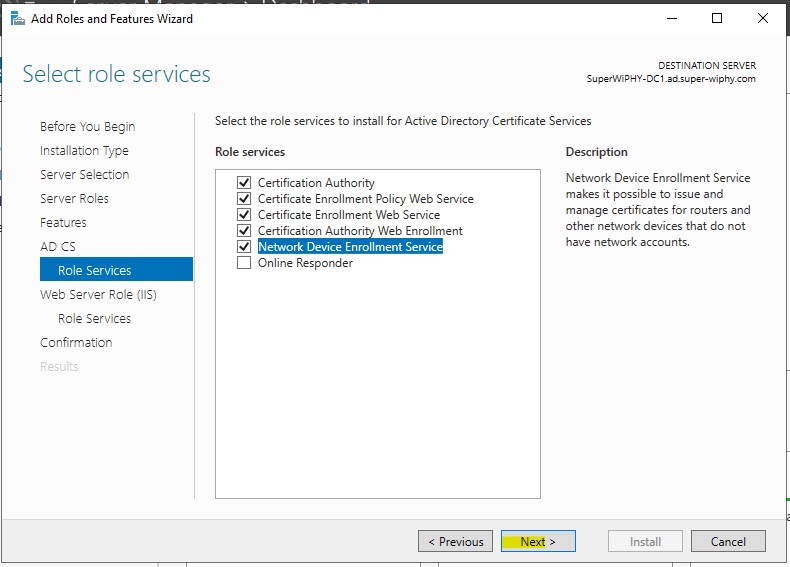
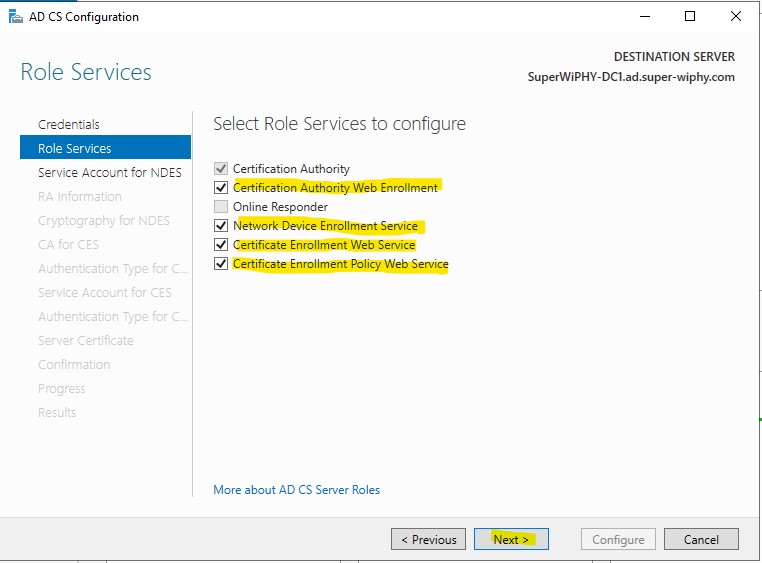
4.) On the “Role Services” screen enable all but the “Online Responder” as we will enable this during the OSCP guide. Click next once all have been checked and the add features for each are added. The IIS and Role Services can be skipped if all the add features are done.
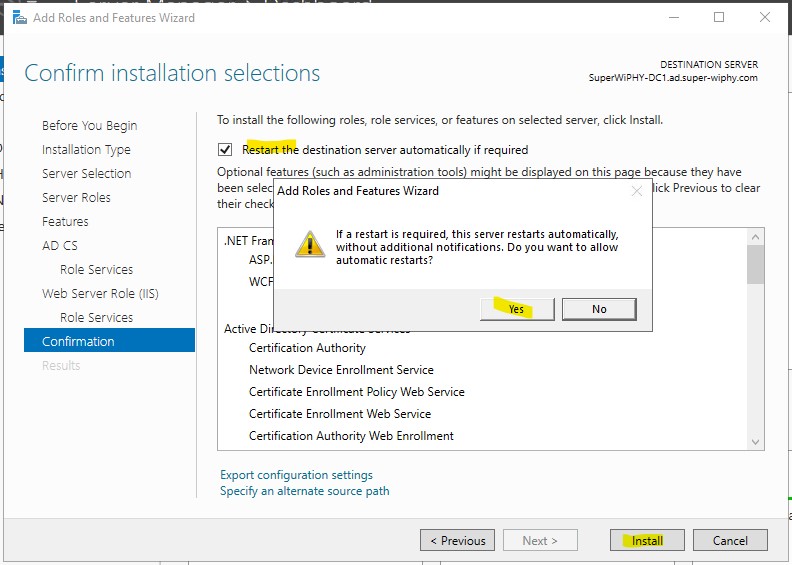
5.) Check the restart box and click yes to accept then click install.
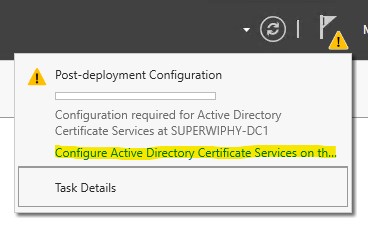
6.) Go back to server manager > notifications and click the link for “Configure Active Directory Certificate Services on th…”
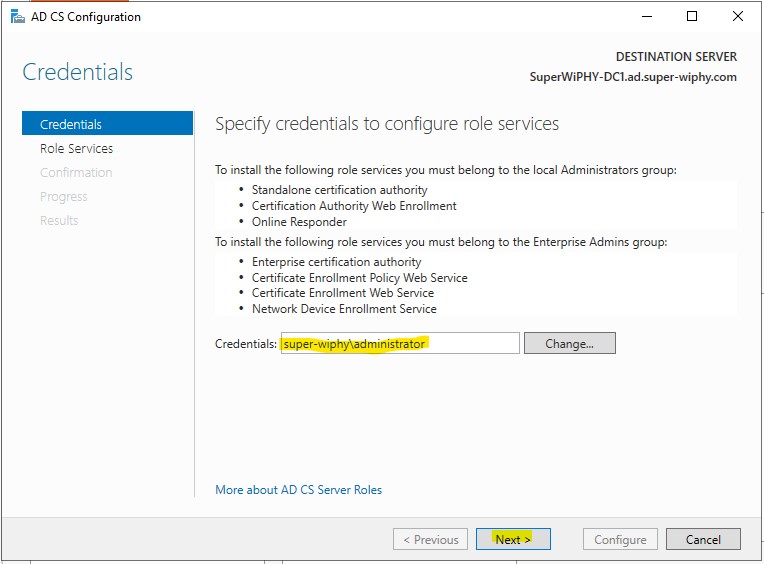
7.) Enter the credentials within the specified group and click next.
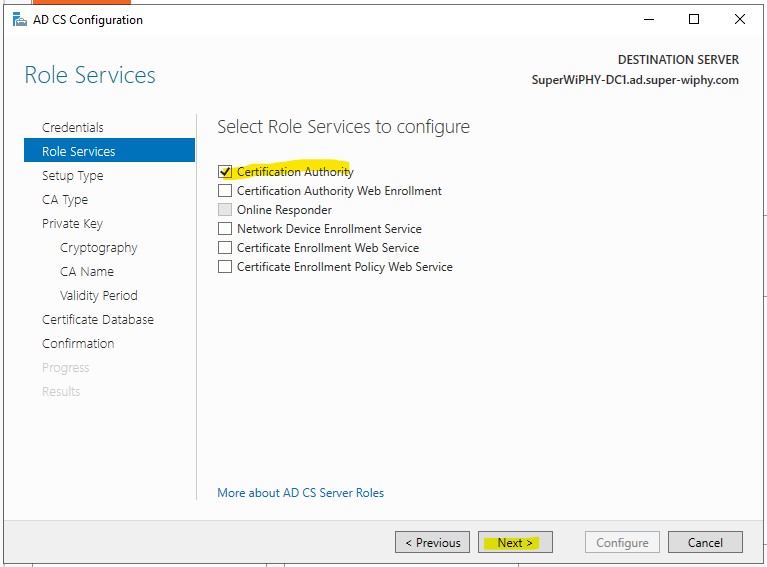
8.) Select just “Certification Authority” for now and click next. The rest on configured on the next tab.
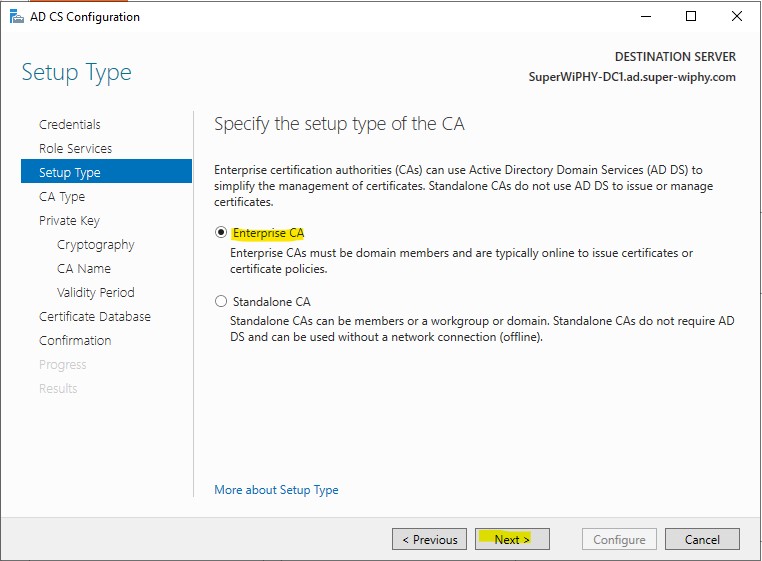
9.) Select “Enterprise CA” since we want this to be AD integrated and click next.
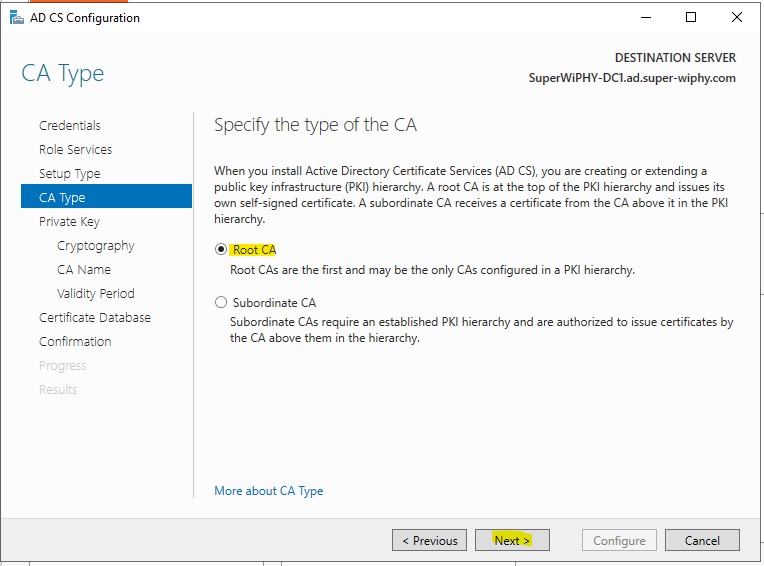
10.) Select “Root CA” and click next. If you need to create a subordinate CA on another server for testing a chain you would select that here.
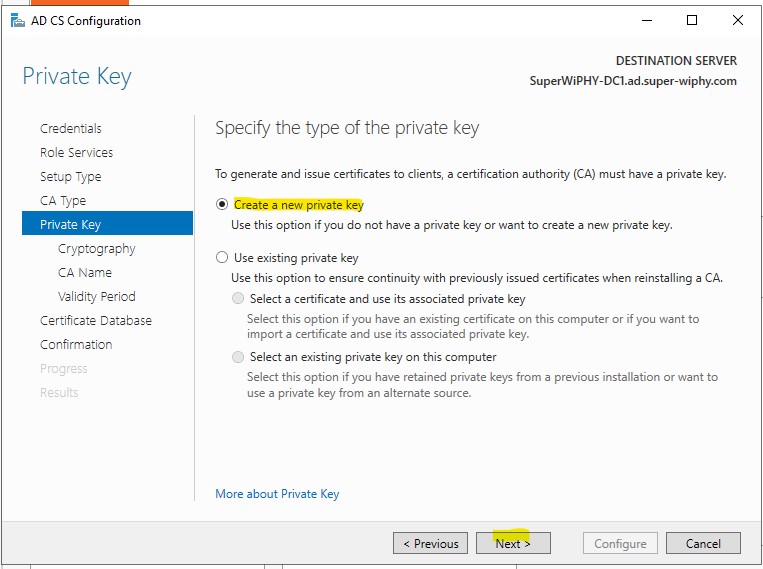
11.) Select “Create a new private key” and click next.
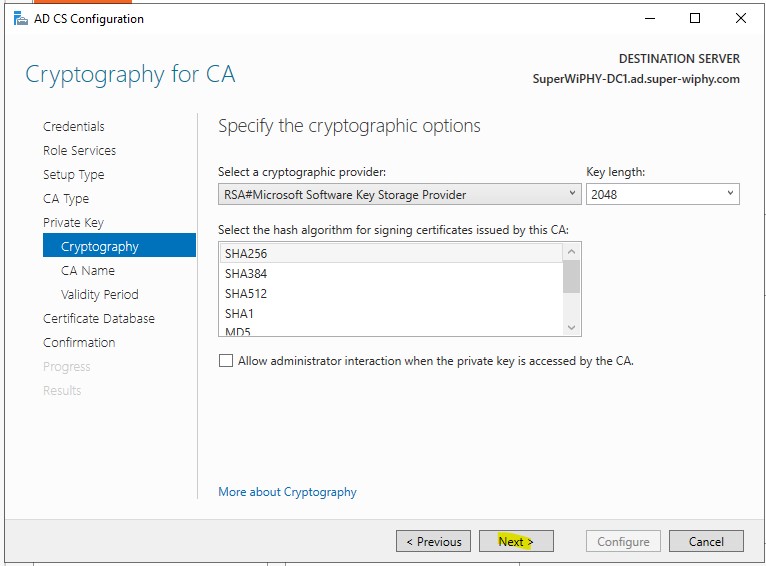
12.) Use the default 2048 and sha256 and click next.
13.) Verify the CA information and click next.
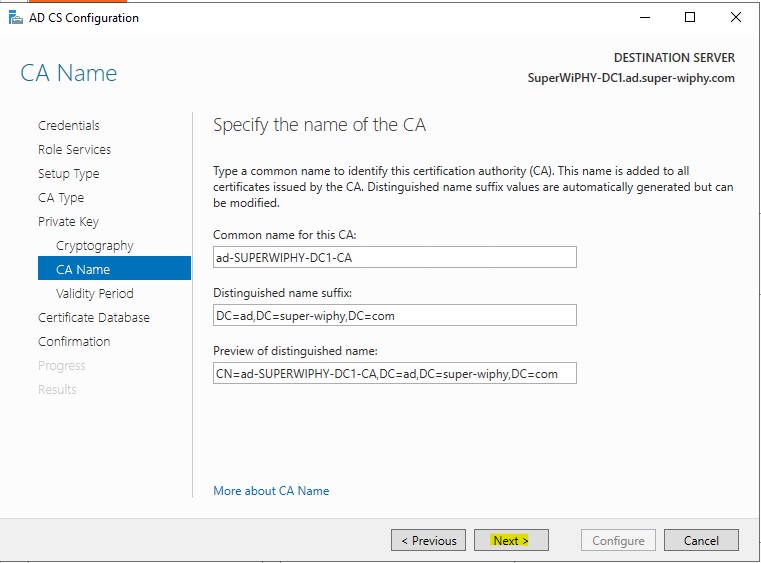
14.) Set the amount of time you would like for the CA to be valid, the default is 5 years, and click next.
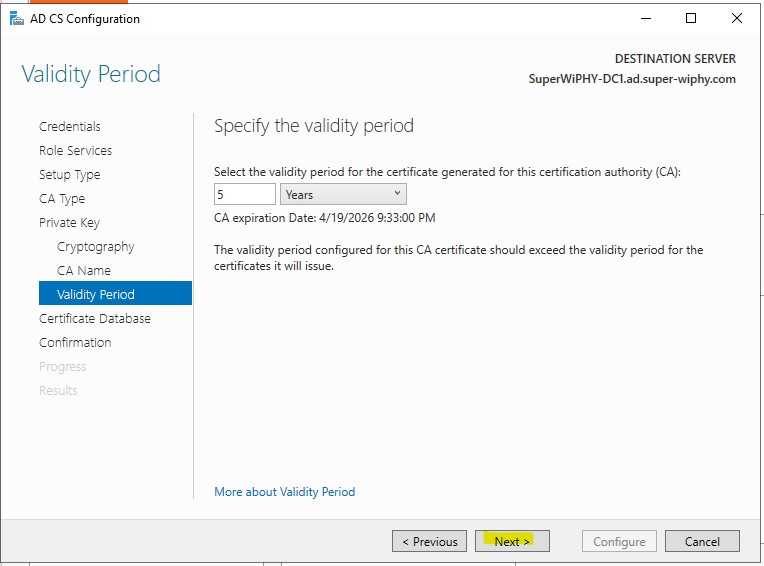
15.) Default DB locations are acceptable so click next.
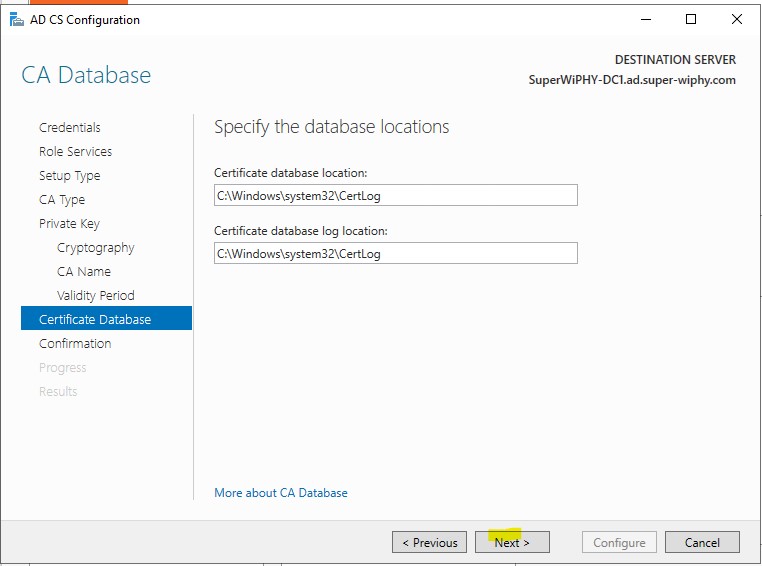
16.) Verify all the CA information and click configure.
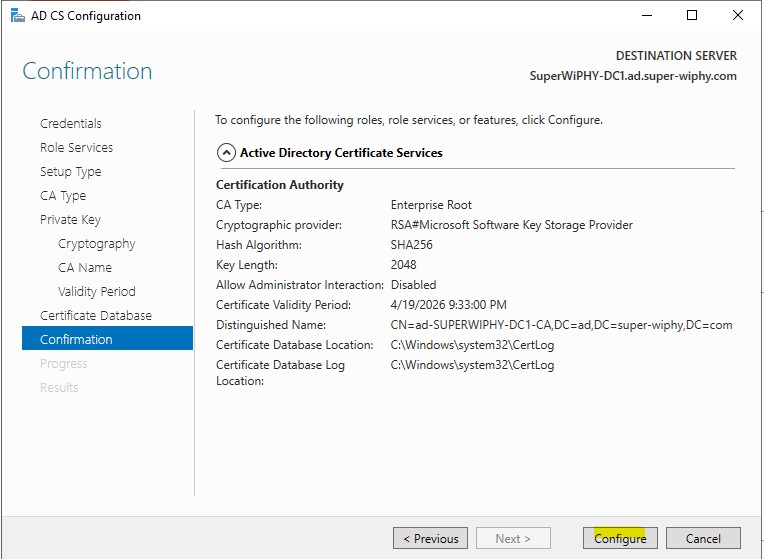
17.) once the progess completes you can close.
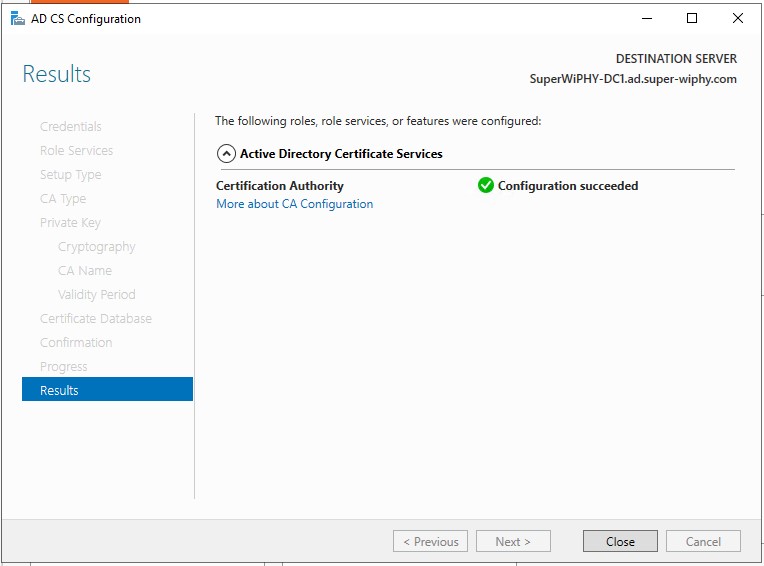
Once closed you will be asked if you want to configure additional roles, this is on the next tab.
CA Additional Roles
Installing the additional rols for CA such as the cert server web renrollment (https://server-ip/certsrv).
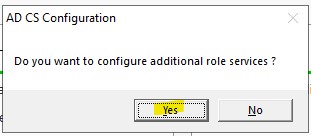
1.) Click yes to configure the other CA role services.
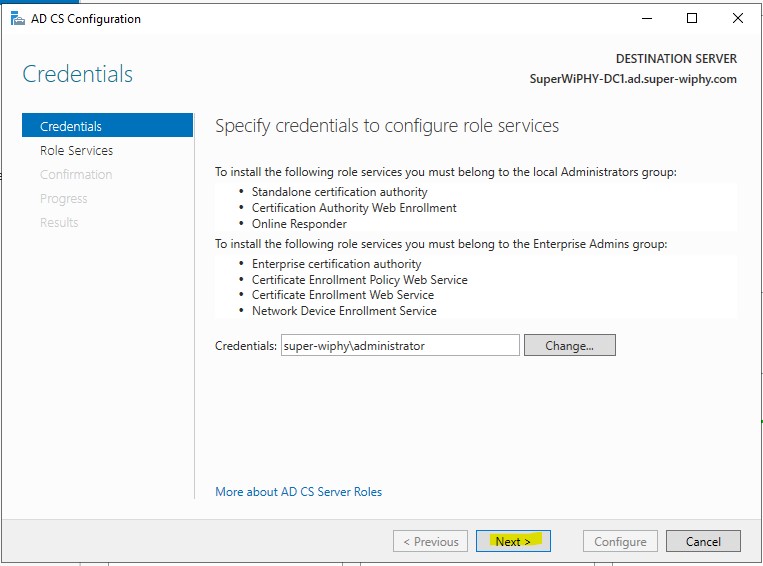
2.) Enter the credentials within the specified group and click next.
3.) Select all the remaining role services and click next
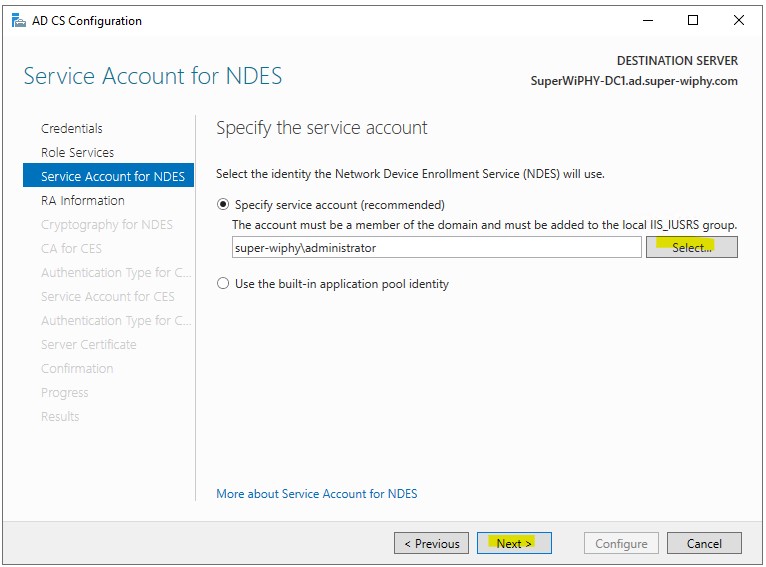
4.) The user selected here needs to be part of the IIS_IUSRS group before continuing. Once completed click next. A guide for adding this can be found here.
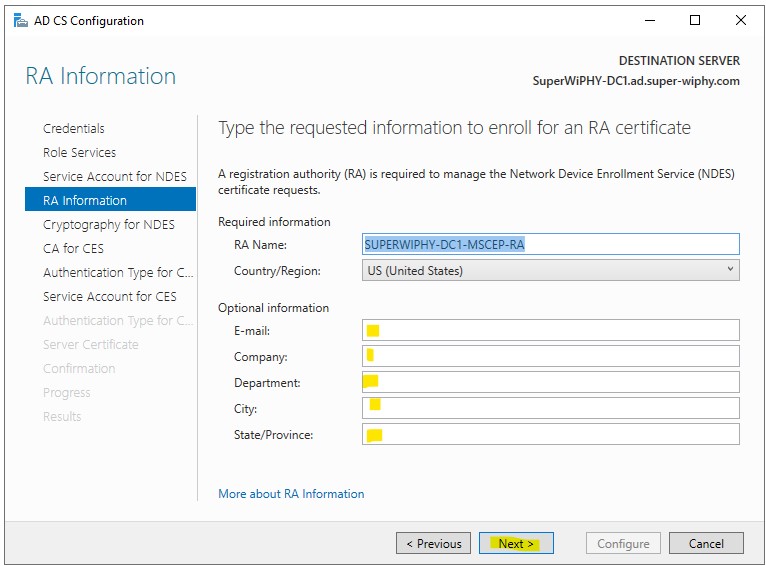
5.) verify the RA name for device enrollment (MSCEP), enter any optional information and click next.
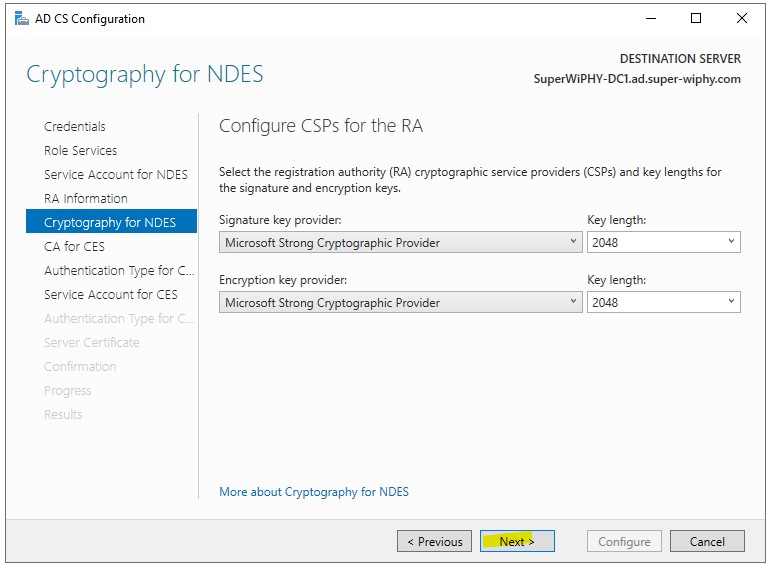
6.) The defaults here are ok so click next.
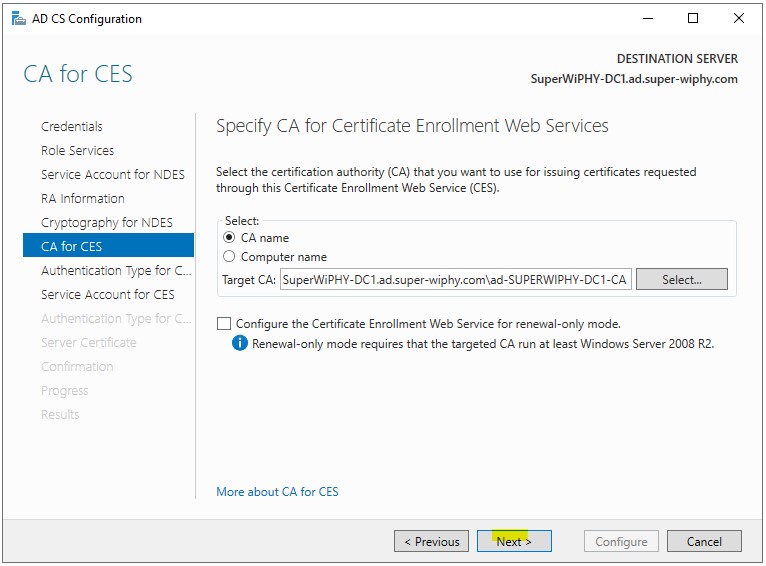
7.) Verify the CA target for CES and click next.
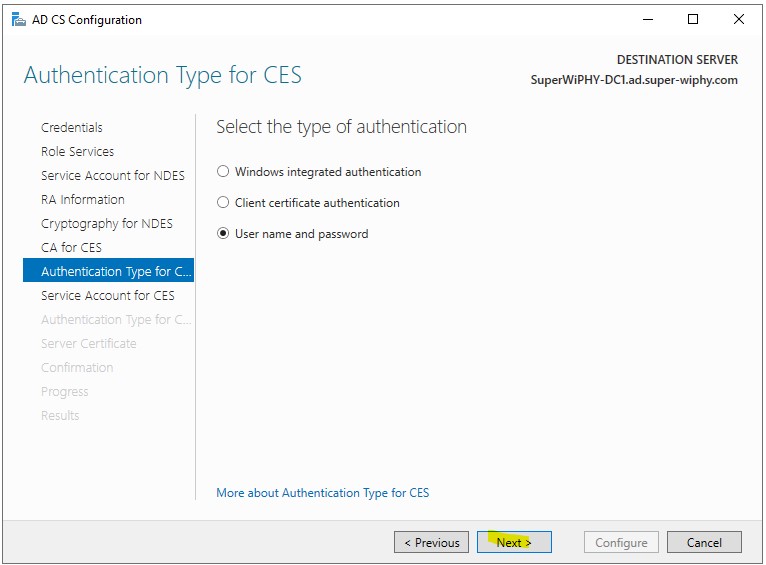
8.) Select a authentication type (i used username and password to simplify) and click next.
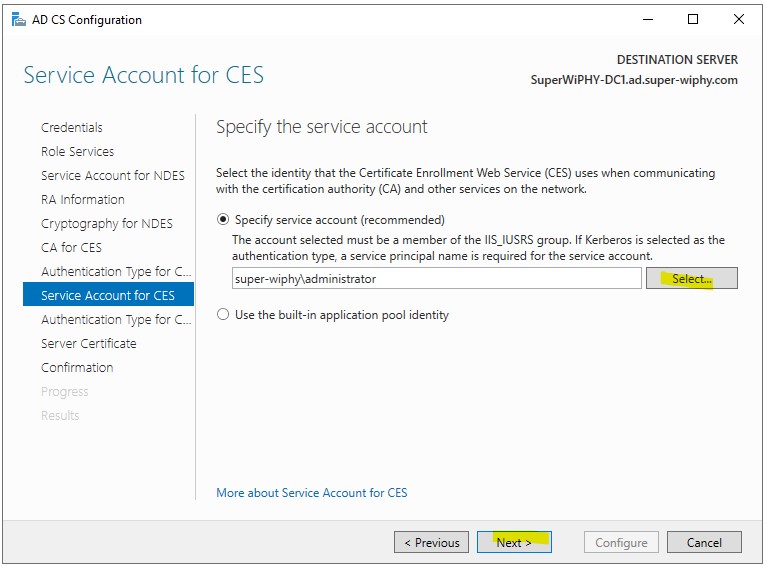
9.) The user selected here needs to be part of the IIS_IUSRS group before continuing. Once completed click next. A guide for adding this can be found here.
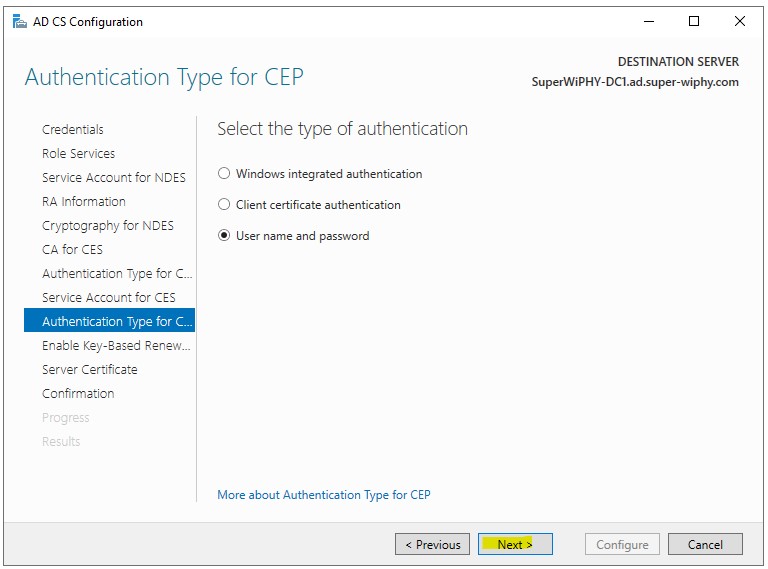
10.) Select a authentication type (i used username and password to simplify) and click next.
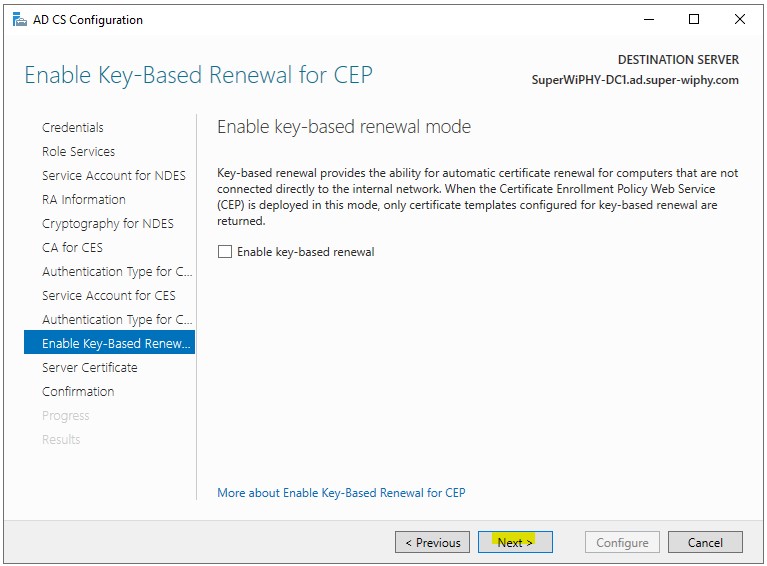
11.) Enable if appropriate and click next.
12.) Select the CA you want to use and click next.
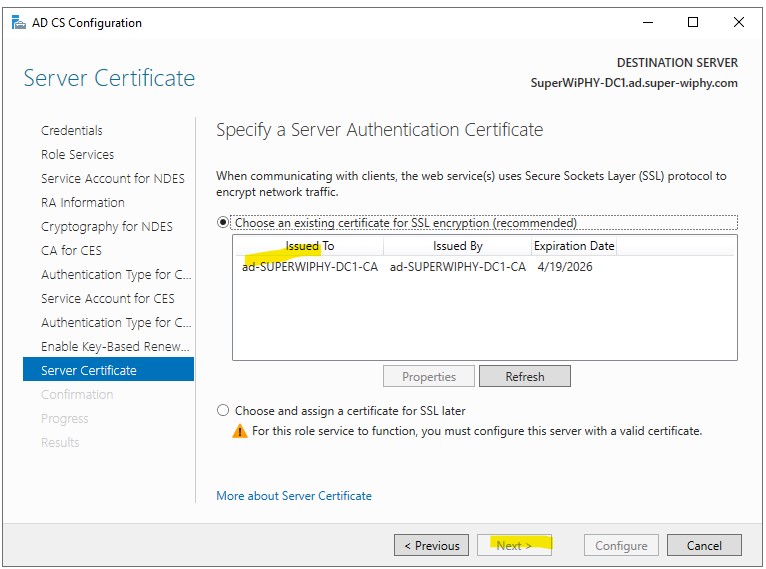
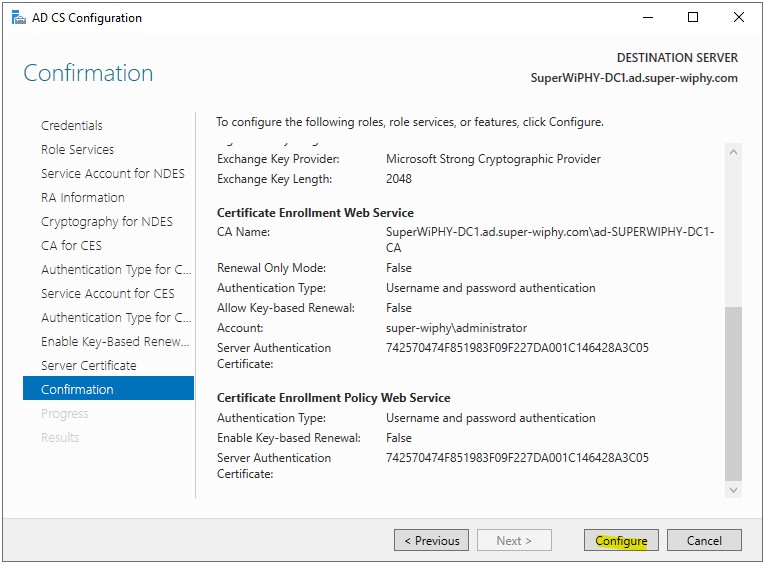
13.) Verify all the information/configuration is correct and click configure.
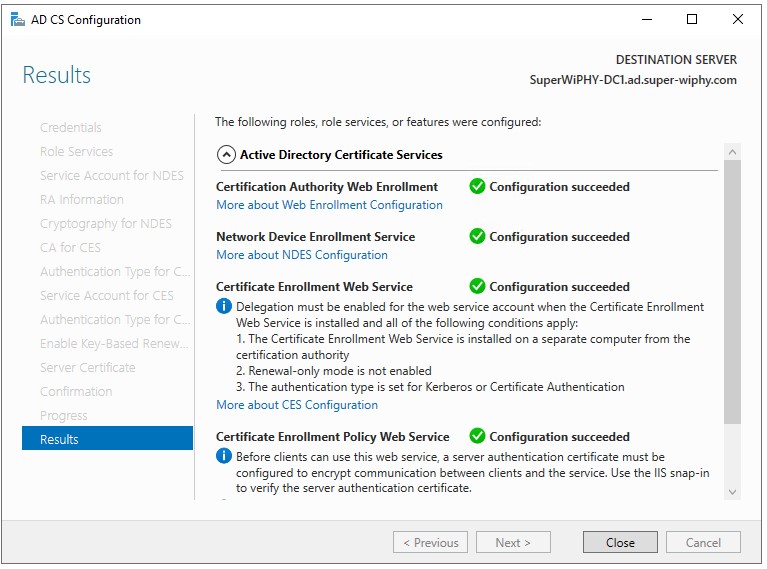
14.) Once the configureation succeededs click close.
PS Install
Install AD CA, web enrollment for devices and clients. GUI install steps 1-5
Install-WindowsFeature ADCS-Cert-Authority,ADCS-Enroll-Web-Pol,ADCS-Enroll-Web-Svc,ADCS-Web-Enrollment,ADCS-Device-EnrollmentConfigure the CA cert. GUI install steps 6-17
Install-ADcsCertificationAuthority –Credential (Get-Credential) -CAType [EnterpriseRootCA] –CACommonName“domain-Host1-CA-1” –CADistinguishedNameSuffix “DC=domain,DC=com” –CryptoProviderName“RSA#Microsoft Software Key Storage Provider” -KeyLength 2048 –HashAlgorithmName SHA256 –ValidityPeriod Years –ValidityPeriodUnits 5 –DatabaseDirectory “C:\windows\system32\certLog” –LogDirectory “c:\windows\system32\CertLog” –ForceNDES (Network Device Enrollment Server). CA additional roles steps 4-6
Install-AdcsNetworkDeviceEnrollmentService -ServiceAccountName MyDomain\AccountName -ServiceAccountPassword (read-host "Set user password" -assecurestring) -RAName "Contoso-NDES-RA" -RACountry "US" -RACompany "Contoso" -SigningProviderName "Microsoft Strong Cryptographic Provider" -SigningKeyLength 2048 -EncryptionProviderName "Microsoft Strong Cryptographic Provider" -EncryptionKeyLength 2048CES (Certificate Enrollment Web Service). CA additional roles steps 7-9
Install-AdcsEnrollmentWebService -CAConfig "APP1.corp.contoso.com\corp-APP1-CA" -SSLCertThumbprint "Thumbprint001" -ServiceAccountName "Corp\CEPAcct1" -ServiceAccountPassword (read-host "Set user password" -assecurestring)CEP (Certificate Enrollment Policy). CA additional roles steps 10-11
Install-AdcsEnrollmentPolicyWebService -AuthenticationType Username -SSLCertThumbprint "sslCertThumbPrint"Web Enrollment Cert. CA additional roles step 12
Install-AdcsWebEnrollment -CAConfig "<CAComputerName>\<CACommonName>"